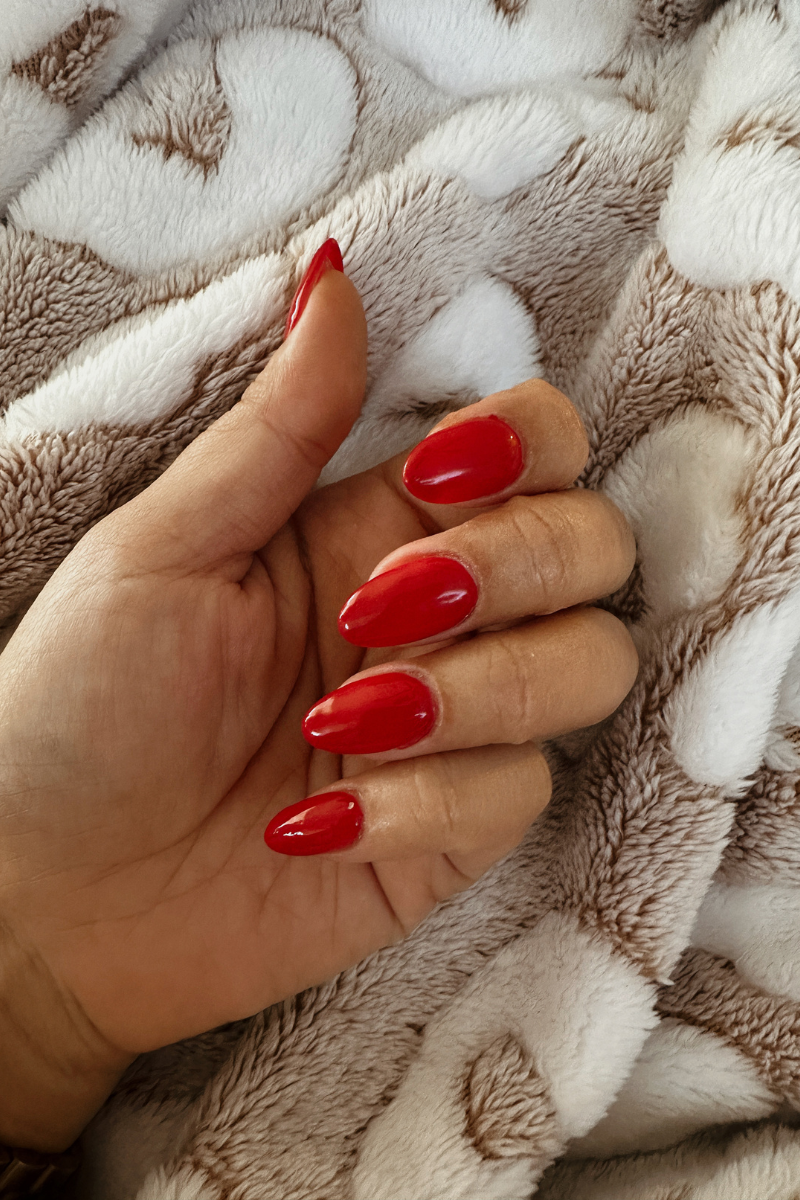
Today, we’re talking about mastering the Gel X Manicure from the comfort of our homes. As someone who’s constantly working with my hands whether at work styling hair or at home cooking and cleaning, I’ve learned the hard way that not all manicures are created equal—especially when your day-to-day involves as much hair washing and exposure to color products as mine does. That’s why I’ve fallen I love a good Gel X manicure, and today, I’m sharing my step-by-step guide to achieving salon-worthy nails from the comfort of your home. Perfect for those of us who find ourselves multitasking our self-care during Netflix binges, this method is for the DIY girlies and those looking to save without skimping on beauty.
Prep Like a Pro
First things first, let’s talk all things prep to get those natural nails ready. Begin by trimming or filing them down to your preferred shape and size. Gently push back the cuticles to give yourself a clean canvas—this is crucial for a seamless application. Then, take a nail buffer and lightly buff the surface of each nail. This step is crucial for a long-lasting manicure that can keep up with your dynamic lifestyle.
Application: A Step-by-Step Guide
- Finding Your Fit: Start by selecting the best-fitting Gel X tips for each nail. If the fit isn’t perfect right out of the box, don’t fret—a quick, gentle file along the edges will do the trick.
- Bond and Prime: Apply a pH bonder followed by a non-acidic gel primer on your natural nails. This duo lays the groundwork for a manicure that won’t budge.
- Gel Glue Magic: Apply the gel glue to your natural nails and cure your hand under an LED lamp for 30 seconds. Then, apply the gel glue to the underside of the nail tip, about 1/3 way up from the base of the tip.
- Tip Attachment: Gently place the tip at a 45-degree angle onto your natural nail, press firmly, and flash cure for another 30 seconds. Ensure there are no air bubbles for that flawless finish.
- Seal and Shape: Once all the tips are applied, go around your cuticles to clean up any excess gel. Give your whole hand one final cure under the lamp for cohesion. Then etch the top of the tips for a flawless finish.
Gel Polish Application: The Finishing Touch
- Color Me Beautiful: Choose your gel polish color and apply it carefully to your nails. Cure under the lamp for 30 seconds. For those who love depth and intensity, go for a second coat.
- Top It Off: Finish with a non-wipe glossy top coat and cure for 60 seconds. This step is your shield against the daily wear and tear, keeping your nails shiny and durable.
Why Gel X?
Gel X manicures have been my go-to for nails that not only look stunning but also endure the daily grind of a hair salon. This system is perfect for us modern women who demand beauty and durability from our manicures. For all my fellow DIY girlies, this method not only saves money but also allows you to customize your nail care to your unique style and needs. This routine might require a bit of extra time, but trust me, the results are salon-worthy and empowering.
Remember, beauty is about finding what works best for you and embracing it with confidence. It’s just as much about feeling good as it is looking good. So, whether you’re a beauty enthusiast or just someone looking to elevate their nail game, I hope this guide inspires you to try something new and find joy in the process.
xoxo,

Disclaimer: This post may contain affiliate links, meaning we may earn a small commission if you purchase through them, at no extra cost to you.
