There’s something undeniably empowering about waking up and feeling instantly put together—no mascara, no lash curlers, just naturally fluttery, full lashes that make you look and feel confident. Imagine saving time each morning, skipping the mascara step, and still walking out the door with effortlessly glamorous eyes. That’s the magic of long-lasting lash extensions, and guess what? You don’t need a salon appointment to achieve them.
Have you ever found yourself wishing for salon-quality lashes without the hefty price tag or weekly maintenance? If you’re ready to elevate your beauty routine and enhance your look with minimal effort, it’s time to explore the world of DIY lash extensions. In this post, we’ll walk you through step-by-step instructions for applying long-lasting lash clusters at home—perfect for beginners who want that refined, luxurious lash look without the hassle.
DIY Long-Lasting Lashes at Home: Step-by-Step Guide
Welcome to your ultimate guide for applying DIY lash clusters at home. In this post, we’ll break down each step so you can confidently create salon-quality lashes that will have you waking up feeling glamorous every day. Whether you’re new to lash extensions or simply looking for a more convenient solution, these beginner-friendly steps will help you achieve beautiful, long-lasting lashes from the comfort of your home.
Here’s how to apply lash clusters at home, even if you’re a complete beginner. Follow these simple steps for a natural, long-lasting lash look:
Step 1: Prepare Your Natural Lashes
Before you begin, make sure your natural lashes are clean and dry. Remove any makeup, oils, or residue from your eyes using an oil-free makeup remover or cleanser. This ensures the lash adhesive will bond properly, giving you longer-lasting results.
Step 2: Choose Your Lash Kit
We recommend starting with one of these three beginner-friendly lash extension kits:
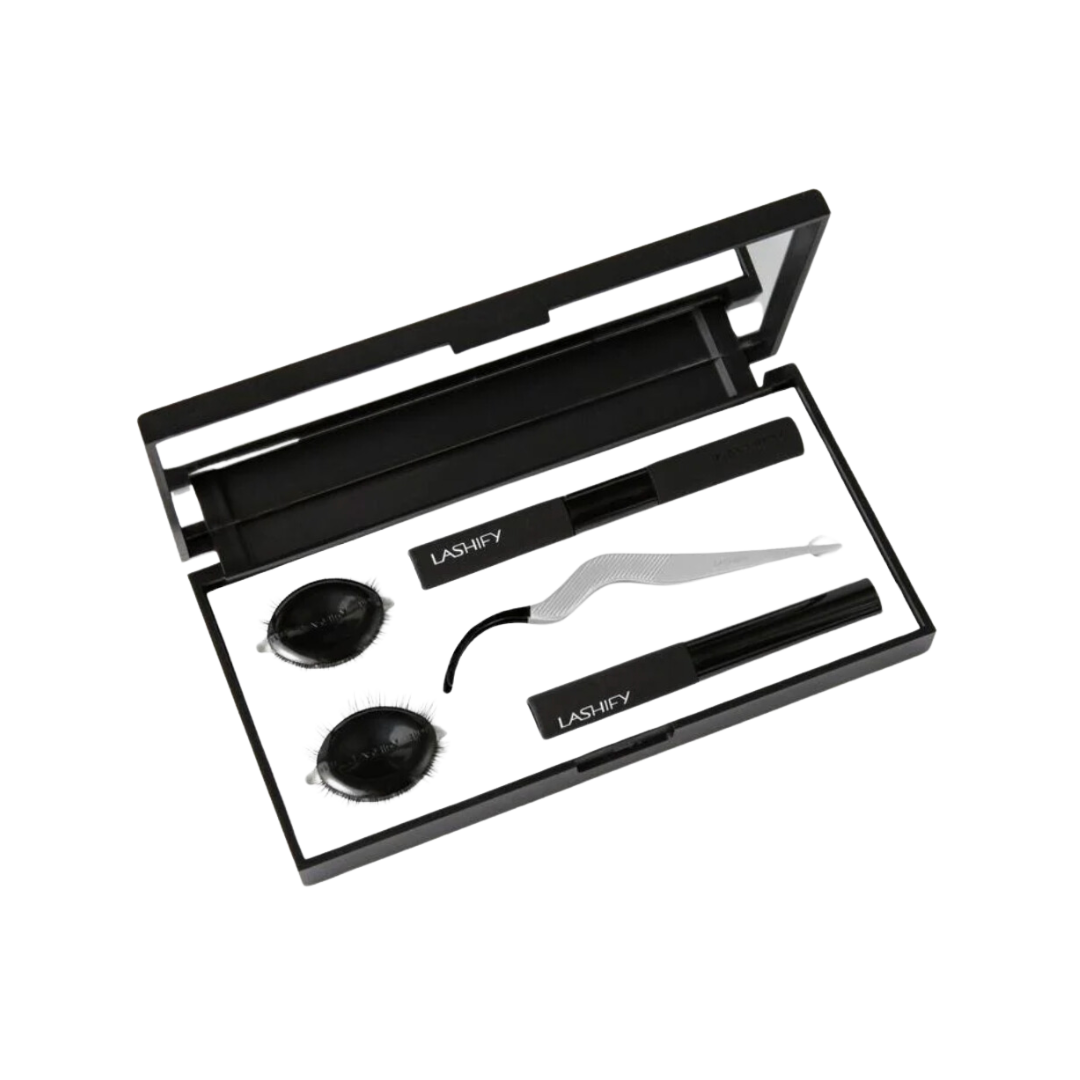
- Lashify Control Kit: A premium option with high-quality lash clusters and a user-friendly control wand for precise application.
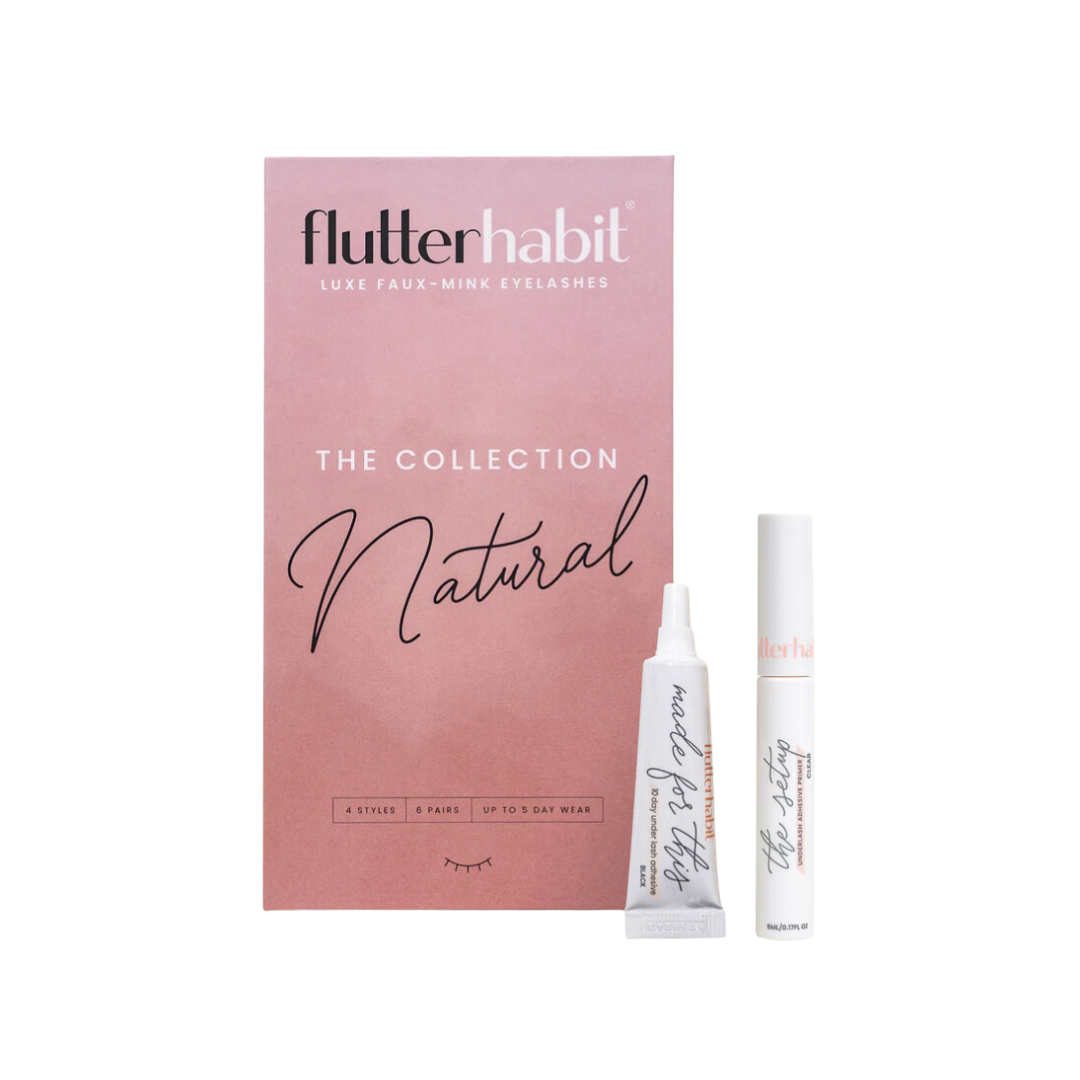
- FlutterHabit Natural Application Kit: Perfect for achieving a natural look, with lash clusters that mimic the appearance of professional lash extensions.
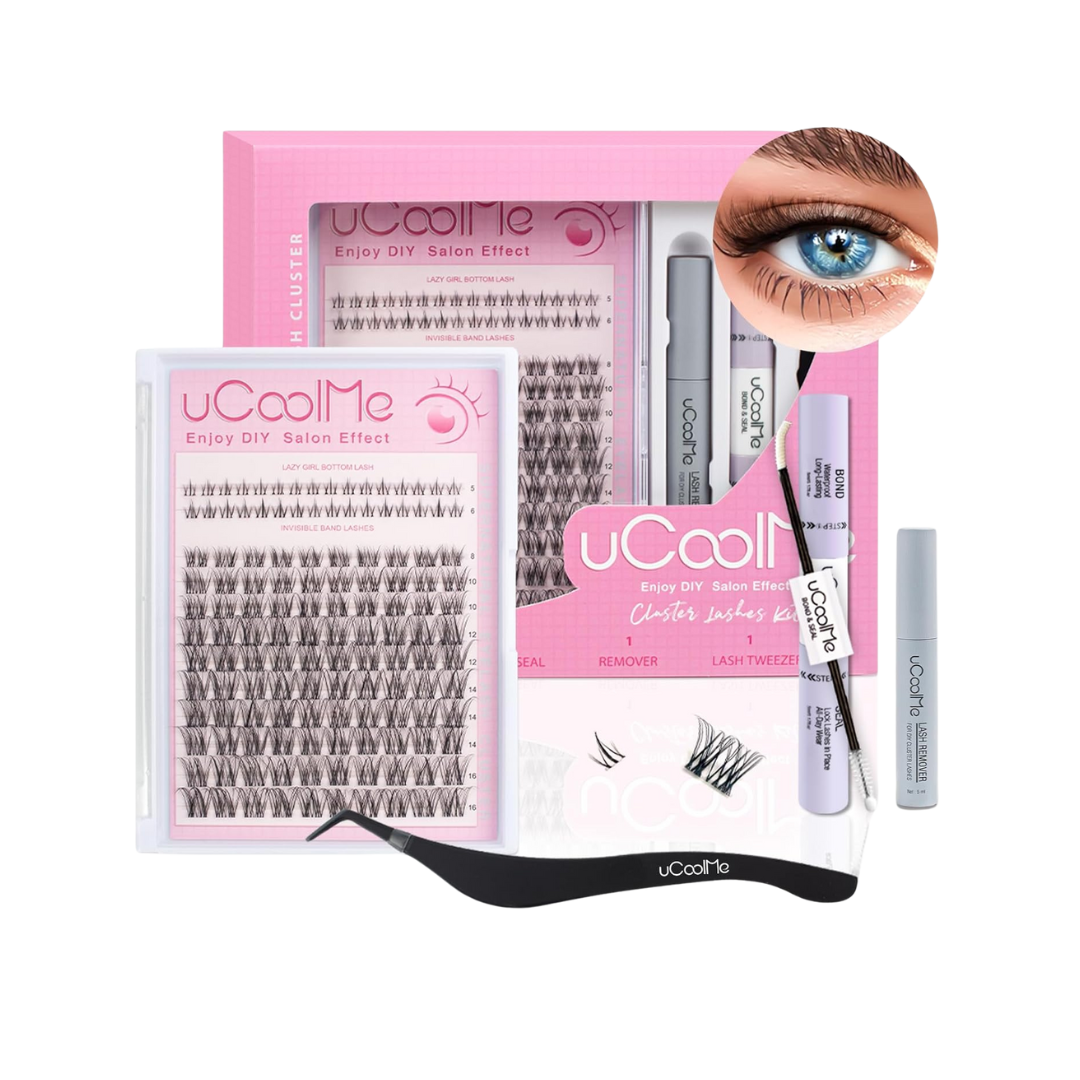
- UCoolMe Lash Cluster Kit: A budget-friendly kit that offers great quality for beginners, with easy-to-apply clusters.
Pick the kit that fits your budget and lash goals, and let’s move on to application.
Step 3: Apply the Lash Adhesive
- Depending on the kit you choose, you’ll either have a brush-on adhesive or glue that comes in a small tube.
- Apply a thin layer of adhesive to the base of the lash cluster or directly to your natural lashes, following the instructions provided by your chosen kit.
- Wait a few seconds for the adhesive to become tacky (this helps the lashes stick better).
Step 4: Place the Lash Clusters
- Using tweezers or the applicator that comes with your kit, gently pick up a lash cluster.
- Starting from the outer corner of your eye, place the lash cluster just below (not on) your natural lash line. Gently press it into place.
- Work your way inward, applying the next cluster next to the first. For a fuller look, overlap the clusters slightly. For a more natural look, space them out evenly.
- Continue until you reach the desired fullness and length.
Step 5: Bond and Seal (If Applicable)
- Some lash kits, like Lashify’s Control Kit or UCoolMe Lash Clusters, include a bonding or sealing product. Apply this as directed to help your lashes last longer and maintain their shape.
- This step adds extra hold and ensures that your lashes will stay in place for days or even weeks.
Step 6: Finishing Touches
- Once all the clusters are applied, gently press along the lash line with your fingers or the applicator to ensure everything is secure.
- Avoid getting your lashes wet for at least 24 hours after application to allow the adhesive to fully set.
Aftercare and Maintenance
Taking care of your DIY lash extensions will help them last longer. Here’s how to keep your lashes looking fresh:
- Avoid oil-based products: Oil can weaken the adhesive, so stick to oil-free makeup removers and cleansers.
- Be gentle: Try not to rub or pull on your lashes. Use a soft cotton pad and micellar water to gently clean around the eye area.
- Touch-ups as needed: Lash extensions will naturally shed over time, so touch up your lashes every few days to maintain their fullness.
The Best Lash Extension Kits for Beginners
Now that you know how to apply lash clusters at home, let’s take a closer look at the three lash extension kits we recommend for beginners:
Lashify Control Kit
Lashify’s Control Kit is the gold standard for DIY lash extensions. It features high-quality lash clusters in various styles and lengths, along with their innovative bonding system. The kit includes everything you need, from the adhesive to the precision wand.
Why You’ll Love It: Lashify is ideal for those who want a luxury, salon-quality look without leaving home. It’s perfect for beginners because of its easy-to-use application tools.
Price: $$$
FlutterHabit Natural Application Kit
FlutterHabit’s Natural Application Kit offers a more affordable option for achieving a natural lash look. The kit includes lightweight clusters that last up to five days with proper care.
Why You’ll Love It: If you prefer a subtle, natural enhancement to your lashes, this kit is the perfect match. It’s easy to use and creates a soft, everyday look.
Price: $$
UCoolMe Lash Cluster Kit
UCoolMe’s Lash Cluster Kit is a budget-friendly option that still delivers great results. It includes multiple lash lengths and a strong adhesive for long-lasting wear.
Why You’ll Love It: Ideal for beginners on a budget, UCoolMe offers versatility and quality without breaking the bank.
Price: $
Achieving long-lasting, beautiful lashes at home is not only possible but easier than you might think. With the right tools and a little practice, you’ll save time and money while enjoying salon-worthy lashes that make you feel confident and refined.
Ready to ditch the mascara and wake up with perfect lashes every day? Elevate your beauty routine and get the lash look you’ve always dreamed of with one of these beginner-friendly kits. Start your lash journey today and wake up to effortlessly beautiful eyes every day!
xoxo,

Disclaimer: This post may contain affiliate links, meaning we may earn a small commission if you purchase through them, at no extra cost to you.


